Throw pillows can quickly and affordably transform any living space, making them the ultimate decor hack. Creating your own pillow covers is a fun and fulfilling project if you’re a DIY enthusiast or a home decor lover. But what if you want to avoid dealing with the hassle of zippers? No worries! This guide will show you how to make throw pillow covers without zippers, offering a simple yet stylish solution for your home.
And if you’re looking for ready-made options to refresh your space instantly, don’t miss our curated list of the 10 Best Throw Pillow Covers that combine beauty, quality, and comfort.
How to Make Throw Pillow Covers Without Zipper? (Short Answer)
First, cut two equal pieces of fabric slightly larger than your pillow. Lay one piece flat with the pattern facing up. Fold the other piece in half and place it on top with the fold in the middle. Pin around the edges and sew, leaving a small gap to insert the pillow. Turn it inside out and slip the pillow inside.
Why Make Your Own Throw Pillow Covers?
Creating throw pillow covers lets you tailor designs to match your style and home decor. Mix different fabrics, colors, and textures to create pieces that show your personality. Plus, homemade covers are budget-friendly and allow you to upcycle old materials.
Whether new to sewing or an experienced crafter, this project is accessible and rewarding. By the end of this tutorial, you’ll have beautiful throw pillow covers that add a personal touch to your living space.
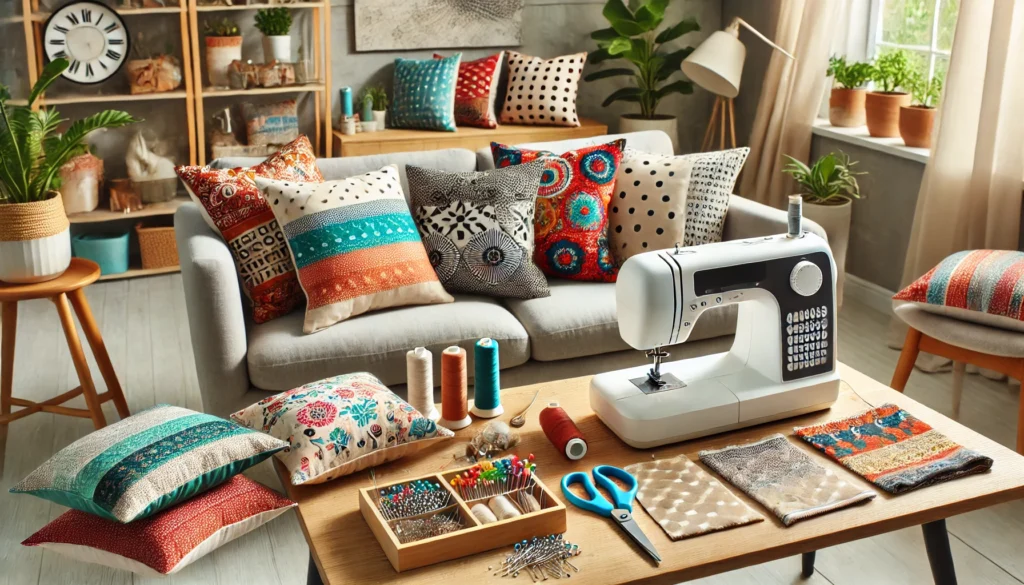
Materials You’ll Need
Before you start, gather all the necessary materials. Here’s what you’ll need:
- Fabric of your choice (cotton, linen, or any durable material)
- Scissors
- Measuring tape or ruler
- Pins or clips
- Sewing machine or needle and thread
- Iron and ironing board
- Pillow inserts
Having these materials ready will make the process smoother and ensure you don’t have to pause halfway through to find something.
Choosing the Right Fabric
Your choice of fabric can make or break your throw pillow cover project. Opt for durable materials that can withstand wear and tear. Cotton and linen are excellent choices as they are easy to work with and offer a wide range of patterns and colors.
When selecting your fabric, consider the room’s color scheme and decor. Bold patterns can make a statement, while neutral tones provide a sophisticated touch. Remember, the fabric should be comfortable, mainly if the pillows are used frequently.
Measuring and Cutting the Fabric
Accurate measurements are crucial for a well-fitting throw pillow cover. Start by measuring your pillow insert. Add an extra inch to the height and width for seam allowances. For example, if your pillow insert is 18×18 inches, cut your fabric into two 19×19-inch squares.
Mark the dimensions on your fabric using a measuring tape or ruler. Carefully cut the fabric along the marked lines, ensuring the edges are straight. This precision will result in a neater final product.
Preparing the Fabric Edges
Preparing the fabric edges before sewing is essential to prevent fraying. Fold the edges of each fabric piece by about half an inch and iron them in place. This will create a clean edge and make sewing easier.
If you’re using a sewing machine, you can also use a zigzag stitch along the edges to further secure them. This step is optional but recommended for a more durable pillow cover.
Creating the Envelope Opening
An envelope opening is a simple and effective way to make a pillow cover without a zipper. To create this, take one of the fabric squares and fold down one edge by about two inches. Iron the fold and sew it in place. This will be the top part of your envelope opening.
Repeat the process with the second fabric square, but fold and sew down the edge by three inches. This will be the bottom part of the envelope opening, allowing the pillow insert to be easily inserted and removed.
Pinning the Fabric Pieces Together
It’s time to pin the fabric pieces together with the edges prepared and the envelope openings created. Place the two fabric squares together, with the right sides facing each other. Ensure that the envelope openings overlap slightly.
Use pins or clips to secure the fabric pieces in place. This will prevent them from shifting while you sew, resulting in a more precise and even final product.
Sewing the Pillow Cover
Now that everything is pinned together, it’s time to sew your pillow cover. Using a sewing machine or a needle and thread, sew around the edges of the fabric, leaving a quarter-inch seam allowance. Make sure to sew over the edges of the envelope openings for added strength.
Once you’ve sewn all four sides, remove the pins and trim any excess thread. Turn the pillow cover on the right side out and use an iron to press the seams flat for a polished look.
Inserting the Pillow and Final Touches
With your pillow cover complete, it’s time to insert the pillow. Gently slide the pillow insert through the envelope opening, adjusting it until it fits snugly inside the cover.
Give the pillow a few good fluffing and arrange it on your sofa, bed, or favorite chair. Admire your handiwork and the personal touch it adds to your living space.
Customizing Your Pillow Covers
Now that you know the basics, feel free to get creative with your pillow covers. Add embellishments like buttons, tassels, or embroidery to make them unique. You can also experiment with different shapes and sizes to create a collection of coordinated pillows.
Remember, the beauty of DIY projects lies in their flexibility. Don’t be afraid to try new things; make each pillow cover reflect your style.
Caring for Your Homemade Pillow Covers
To keep your pillow covers looking their best, follow these simple care instructions:
- Wash your pillow covers in cold water on a gentle cycle.
- Use mild detergent to preserve the fabric’s color and texture.
- Air dry or tumble dry on low heat to prevent shrinkage.
By taking good care of your pillow covers, you’ll ensure they remain a charming part of your home decor for years.
Benefits of Making Your Own Pillow Covers
Creating your own throw pillow covers offers numerous benefits:
1. Cost-effective:
Save money by making your own instead of buying expensive store-bought covers.
2. Customization:
Tailor your pillow covers to match your unique style and home decor.
3. Sustainability:
Reduce waste by upcycling old fabrics and repurposing materials.
These advantages make DIY pillow covers a rewarding and eco-friendly project.
Inspiring Ideas for Your Next Project
Once you’ve mastered the art of making throw pillow covers without zippers, consider expanding your DIY skills with these related projects:
- Create matching cushions for outdoor furniture using weather-resistant fabric.
- Sew custom table runners and placemats to coordinate with your pillow covers.
- Design personalized tote bags using leftover fabric scraps.
The possibilities are endless, and each project will enhance your crafting skills and home decor.
Conclusion:
Making your own throw pillow covers without zippers is both fun and rewarding. You can save money and add a personal touch to your home decor. With simple steps and basic sewing, you can create beautiful covers. Enjoy experimenting with different fabrics and designs. Share your creations with friends and inspire others to try DIY projects.
Related Product Reviews:
- 10 Best Throw Pillow Covers
- 10 Best Cooling Pillows
- 10 Best Memory Foam Pillows
- 10 Best Down Pillows
- 10 Best Wedge Pillow
- 10 Best Firm pillows
- 10+ Best Toddler Pillows
FAQs
What fabric should I use to make throw pillow covers?
You can use various fabric types, such as cotton, linen, or upholstery. The choice depends on the look and feel you want for your pillow cover. Cotton is soft and easy to work with, while linen offers a more textured and sophisticated appearance.
How do I measure the fabric needed for my pillow cover?
For the best fit, measure your pillow insert and add an inch to the length and width. For example, if your pillow insert is 18 inches by 18 inches, you should cut two fabric squares, each measuring 19 inches by 19 inches.
What is the best way to keep the edges from fraying?
To prevent the fabric edges from fraying, you can fold them by about half an inch and iron them before sewing. Alternatively, you can use a zigzag stitch along the edges with a sewing machine, which adds extra durability.
Do I need special tools or materials to make these pillow covers?
You don’t need any fancy tools—just some fabric, scissors, pins or clips, an iron, and a sewing machine or needle and thread. Optional items like a ruler or measuring tape can help make your measurements more accurate.
Can I add decorations to my pillow covers?
Absolutely! Add embellishments such as buttons, tassels, ribbons, or even embroidery to make your pillow covers unique. Let your creativity shine, and customize your covers to match your style.